Crumbling, Darkening, Mouldy: Choosing the Right Tile Grout for a Warsaw New Build
Sergii8 min readWarsaw
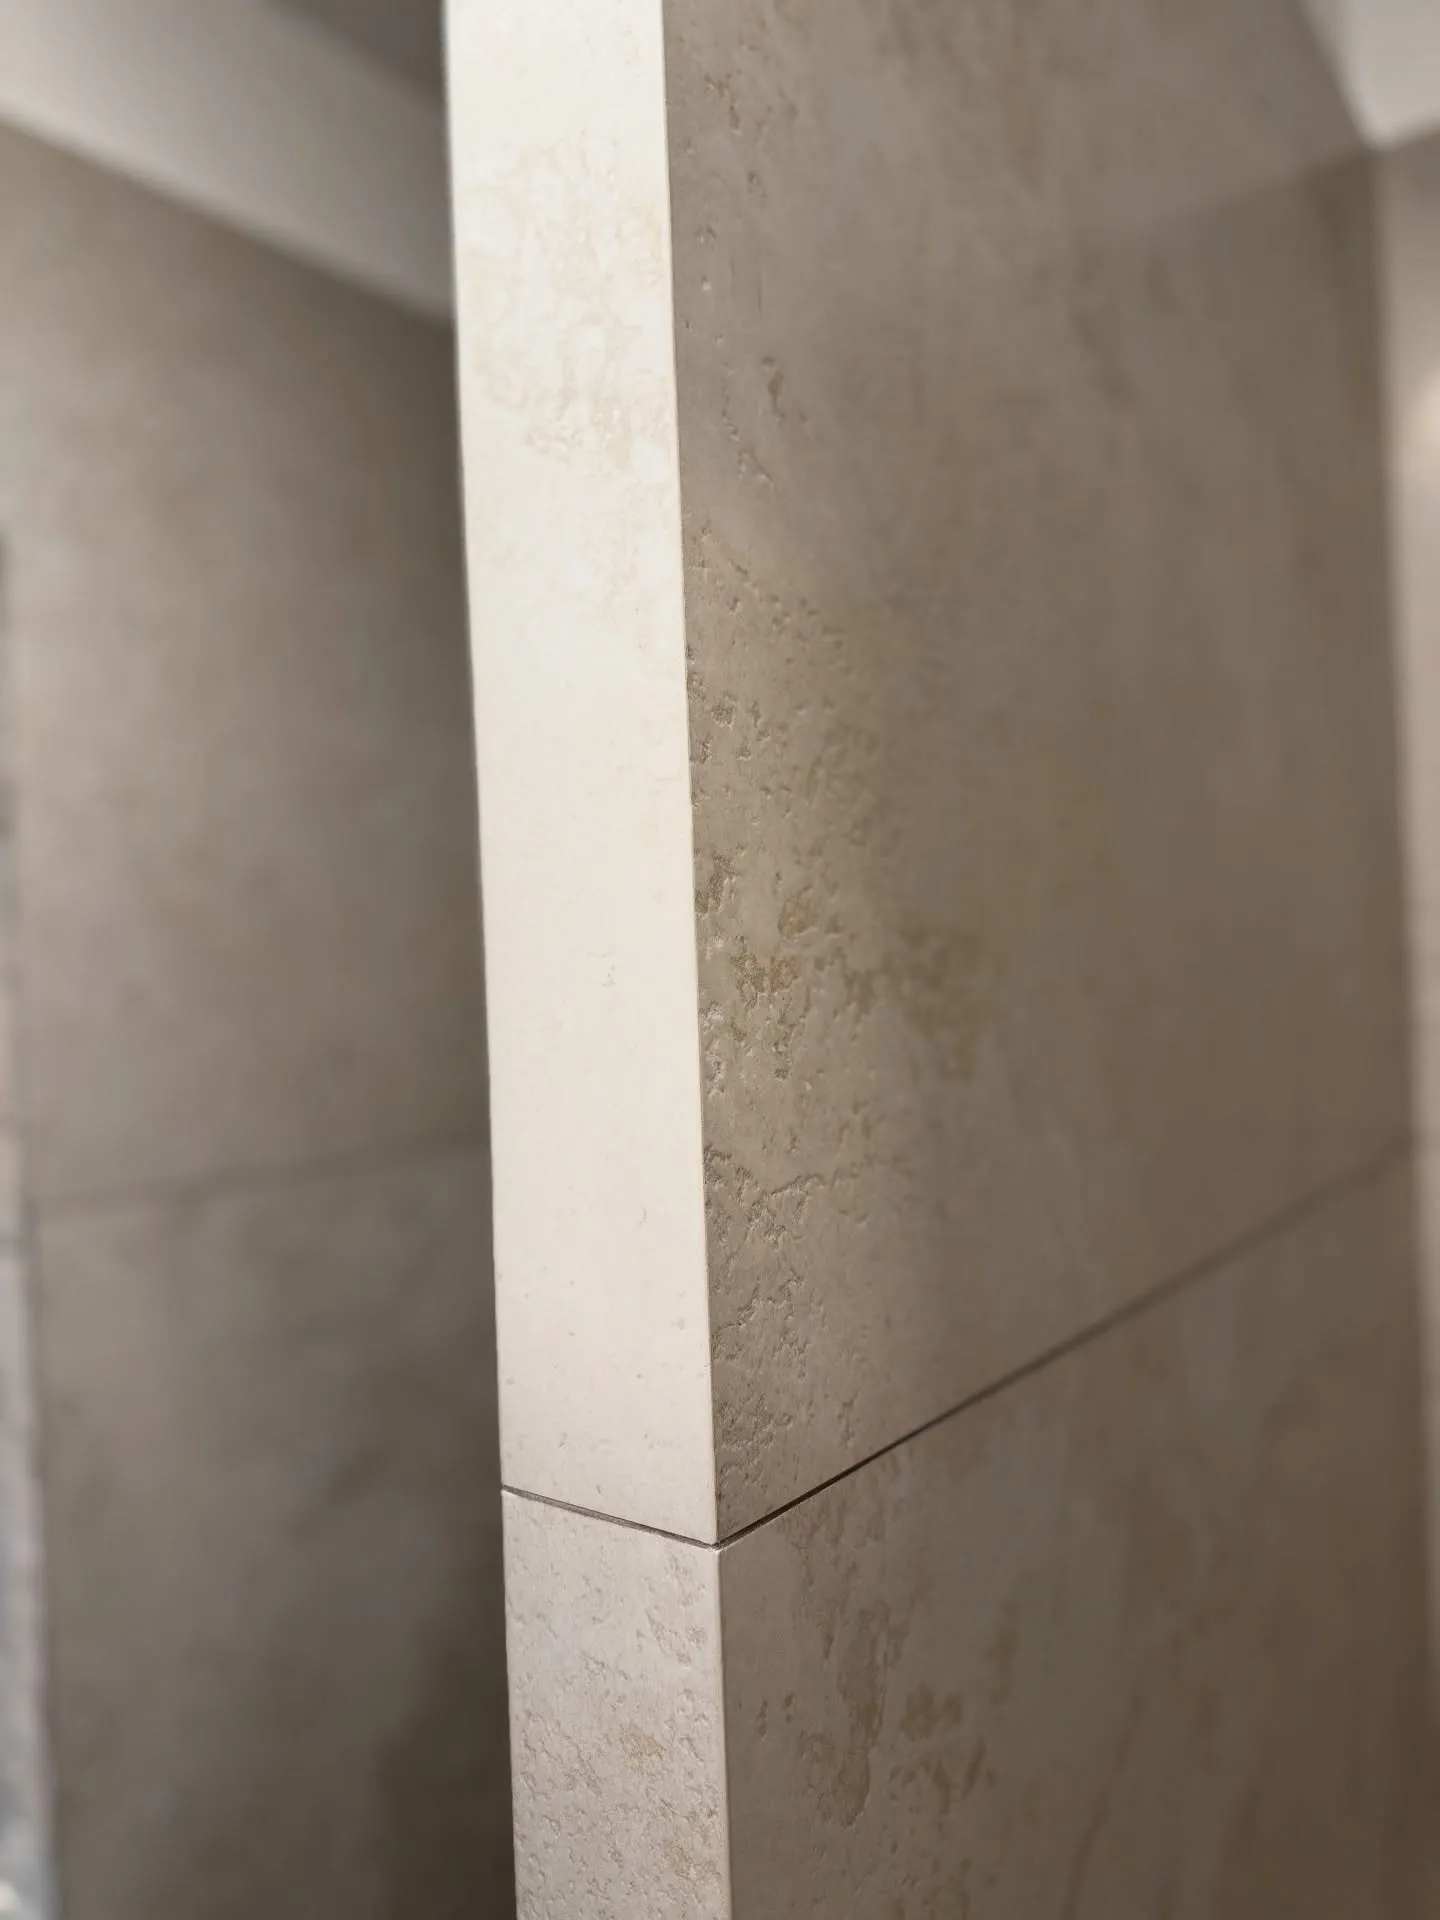
On Murator.pl, Poland's biggest construction forum, threads about tile grout (fuga) routinely gather hundreds of comments. The scenario is the same for most owners of developer-state apartments: 4–6 months after the renovation, light-coloured grout in the shower darkens from moisture, the kitchen backsplash soaks up grease, and the joints in bathroom corners start cracking and crumbling out.
The main dilemma apartment owners face at the budgeting stage: is two-component epoxy grout worth the extra cost and tricky application, or is familiar cement grout good enough?
Here is a breakdown of the key grout problems — and how to protect your renovation from mould and redone work.
What the forums say: the 3 biggest grout problems
Chasing savings — or rushed by their tilers — apartment owners keep running into the same grouting mistakes:
- Darkening, limescale and mould on cement grout. Classic cement grout has a porous structure. In direct-water zones (a walk-in shower, the wall above the bathtub) it works like a sponge, absorbing water, hard mineral salts and shampoo residue. Joints quickly turn grey, build up stubborn limescale, and in a damp environment black mould settles in.
- Tilers refuse to work with epoxy grout. Two-component epoxy grout is epoxy resin plus a hardener. It sets before your eyes — within 30–45 minutes. If the tiler doesn't shape the joint and wash the porcelain down in time with a special cellulose sponge and remover, the grout hardens on the surface like glass. Inexperienced crews either talk the client out of epoxy or ruin expensive tiles, leaving a hazy chemical film.
- Cracks and crumbling in the corners. Internal wall corners and the wall-to-floor junction often get grouted with ordinary cement mix. But a new building settles for its first 1.5–2 years, and materials expand with temperature — especially once the underfloor heating comes on. Rigid cement grout in corners can't take those micro-movements and falls out in pieces.
The expert breakdown: how to choose and apply grout
For joints that keep their day-one look for years, a modern renovation uses a combined engineering approach:
- Shower zones, trays and the kitchen backsplash — epoxy grout only. Epoxy resin creates a 100% waterproof, monolithic joint. It has no pores, doesn't absorb grease or dirt, never changes colour and cleans easily with any household chemicals.
- Dry zones (hallway, toilet walls) — high-grade flexible cement grout. For walls with no constant water flow, a quality flexible cement grout with a water-repellent effect is entirely sufficient.
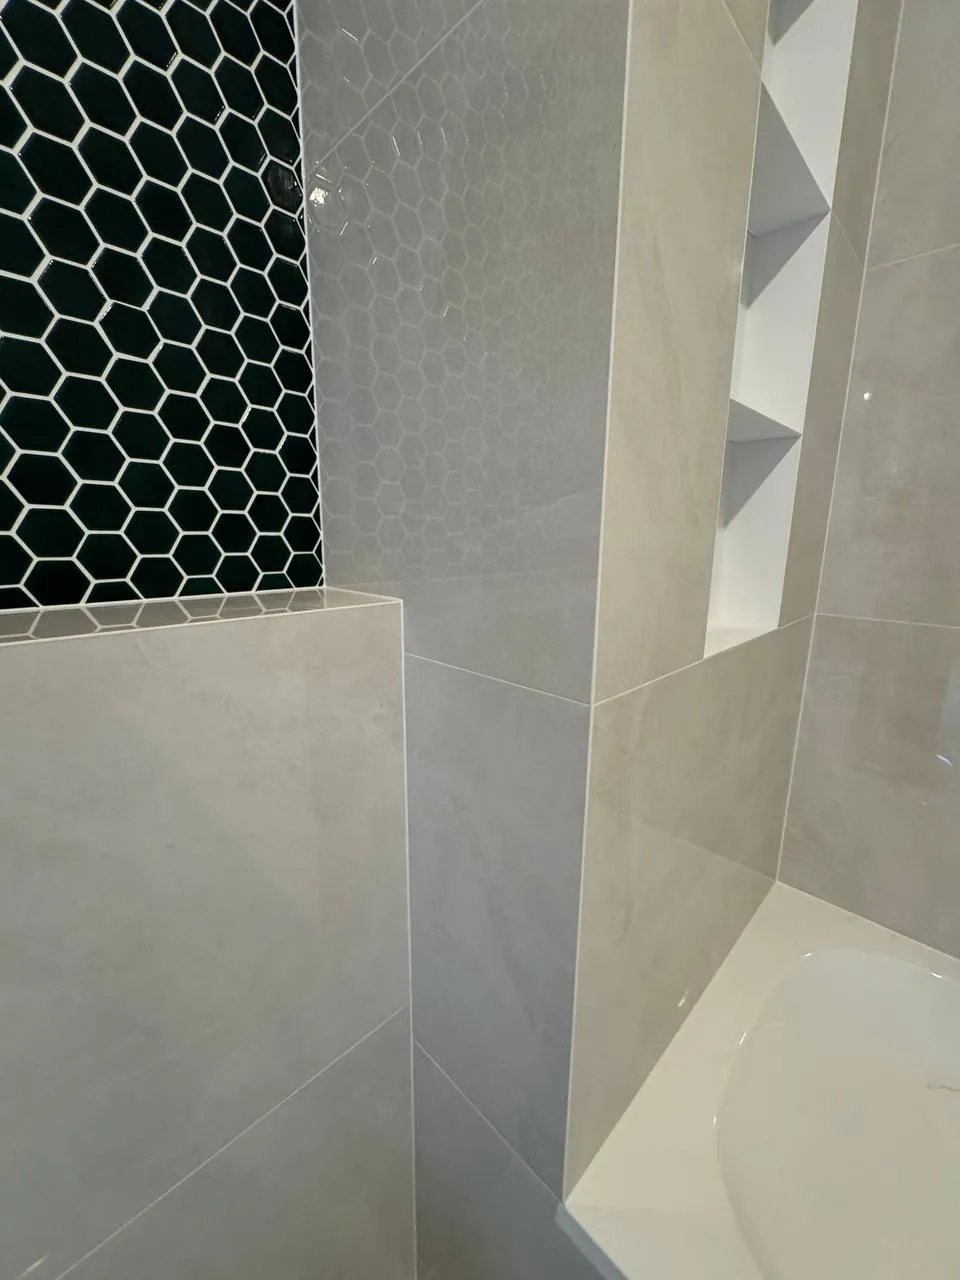
- Every internal corner and junction — sanitary silicone only. Internal corners and the floor perimeter get neither cement nor epoxy. They take flexible sanitary silicone matched to the grout colour, which works as a shock absorber.
How Domio Lux tilers handle grout
At Domio Lux we don't shy away from demanding technology — and we guarantee a flawless tiling result:
- Professional epoxy application. Our tilers carry the dedicated tools, cellulose sponges and removers for two-component epoxy grouts — with no risk to expensive porcelain tiles.
- Engineering-grade material estimates. We calculate the exact grout and silicone quantities before purchasing, so you never overpay for spare buckets of expensive material.
- Correct movement joints. Every corner junction and every zone adjoining underfloor heating is protected with sealed silicone joints.
- A 3-year warranty.
Frequent questions
Yes, but the process must follow the technology strictly. On porous or textured tiles we first run test patches and use dedicated protective chemistry and removers so the resin doesn't bite into the tile texture.
Silicone is a flexible polymer: it stays elastic after curing and absorbs the micro-shifts of walls as the building settles. Pack rigid grout into a corner instead, and it cracks at the slightest movement of the slabs.
%2FElectrica%20.webp&w=3840&q=75)